Quarantine activity for kids: DIY HOME STUDIO
Looking for an in-home kids activity challenge during quarantine? A little photography challenge might be a great way to pass the time.
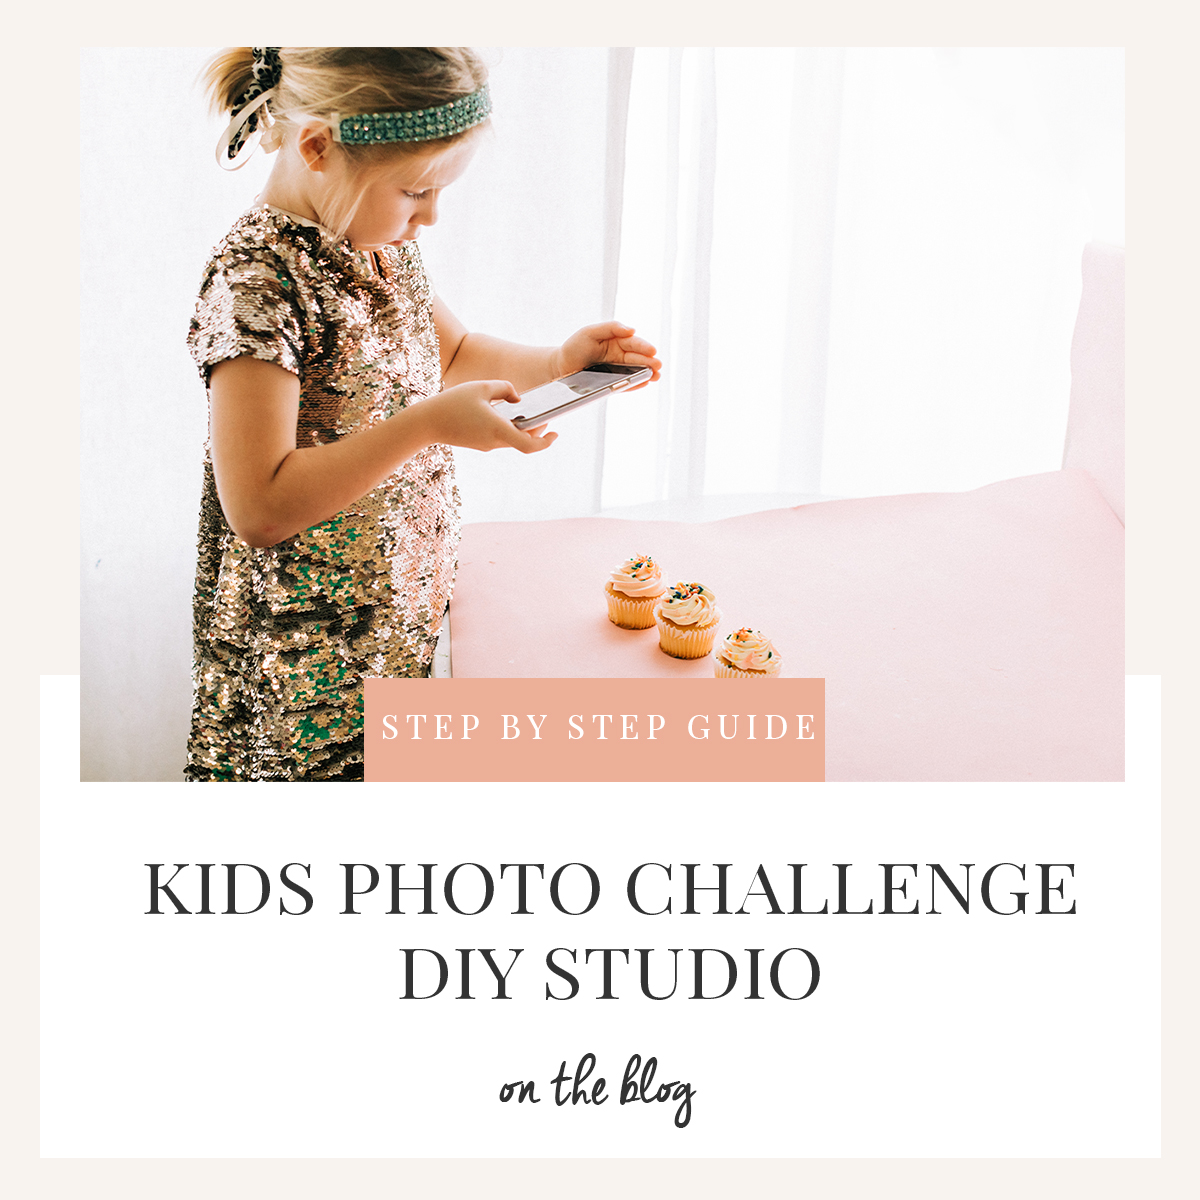
My 6 year old Ellie has a photo challenge happening at her school and I thought it would be a good opportunity to start bestowing some photography knowledge onto her ! He he
So our photography discussions began. First we talked about what she wanted to photograph. Since we’re mostly indoors these days we chose inanimate objects in the house. She picked cupcakes and lemons (we had a whole bag of them at the time). From there the planning process began. Follow along with us:
What you will need
- Photography tools: 1-2 poster boards/foam core/ cardboard (pretty much anything you can paint on) and paint from your local dollar store (Smart Buy Cayman for those in Grand Cayman). Don’t forget the camera or phone.
- Styling props and inanimate objects to photograph: ideas can include food items like colourful fruits, desserts, smoothies; nature items like flowers, seashells, etc. Props such as confetti, ribbons, or colour dishes/bowls. Pretty much anything goes!
- The set-up location: a window or sliding door and some natural light. No flash photography allowed 🙂
Step 1: Discuss colour schemes
After it has been decided on the photo subject, take a look at the colour wheel below. Colour theory states that any two colours opposite each other on the wheel are complimentary. For example, Ellie wanted to photograph yellow lemons. The opposite of yellow is purple. These colours create high contrast, so you can use these colours when you want something to stand out.
Although purple and yellow looks amazing together. We agreed that pink and yellow still looks great and complimented and the pink would also look great with the cupcakes.

Step 2: Paint the poster boards
We already had bright pink poster boards at home but Ellie wanted a softer pink colour. We used a sponge and dabbed the poster to make pretty texture on the surface. Texture always photographs beautifully 🙂
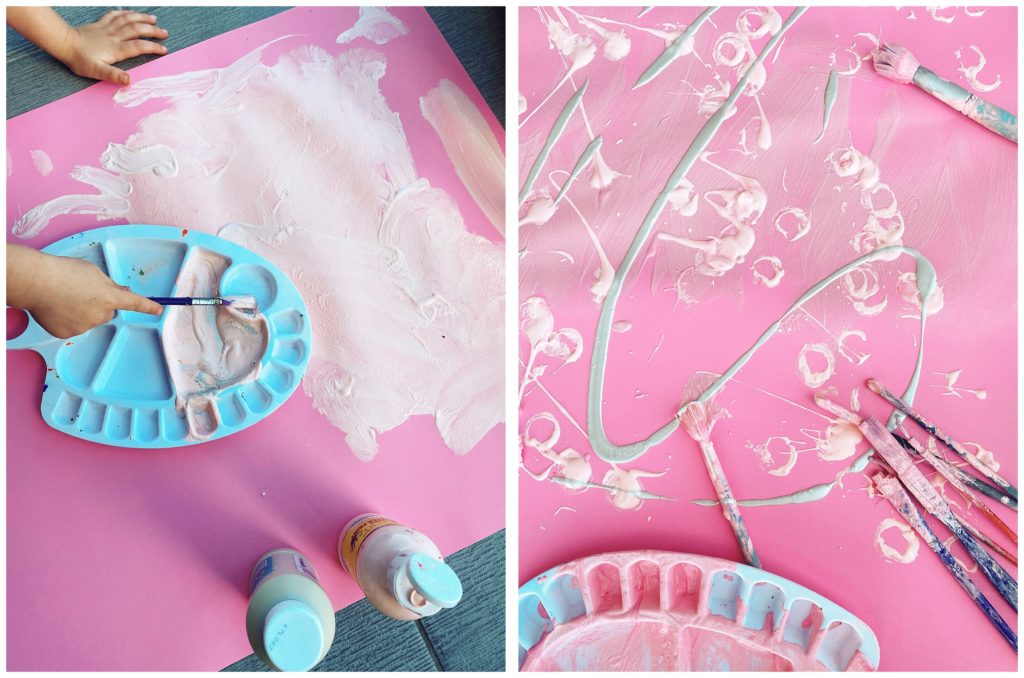
Step 3: The set-up location
Photography is all about light and shadows. Find a large window or sliding door and simply set-up your boards parallel to the light source (your window).
PRO TIP: Make sure the sun is not beaming in harshly through the window. You may have to find a different time of day to shoot OR use curtains to diffuse the harsh light.
You can use the floor or a small table to set-up the boards. You’ll want one board on the bottom and the other placed as the background. Use whatever you have around the houses to help keep the posters in place.
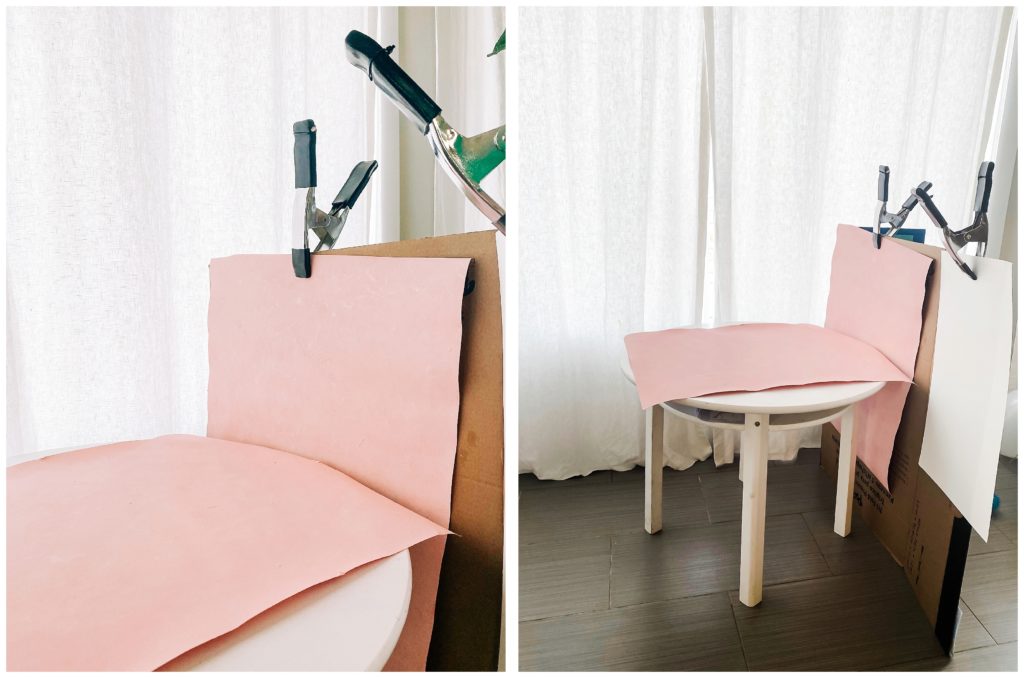
Step 4: Style the items and experiment with angles
This is the fun part. Let them be little Photo Stylists and directors by arranging the items themselves or bringing in different accent pieces/props. Photo Stylists create the mood or tone for a photographic “story” so let them tell their story.
Then let them experiment with shooting various angles. Shoot directly from above, from the sides, up close and further away.
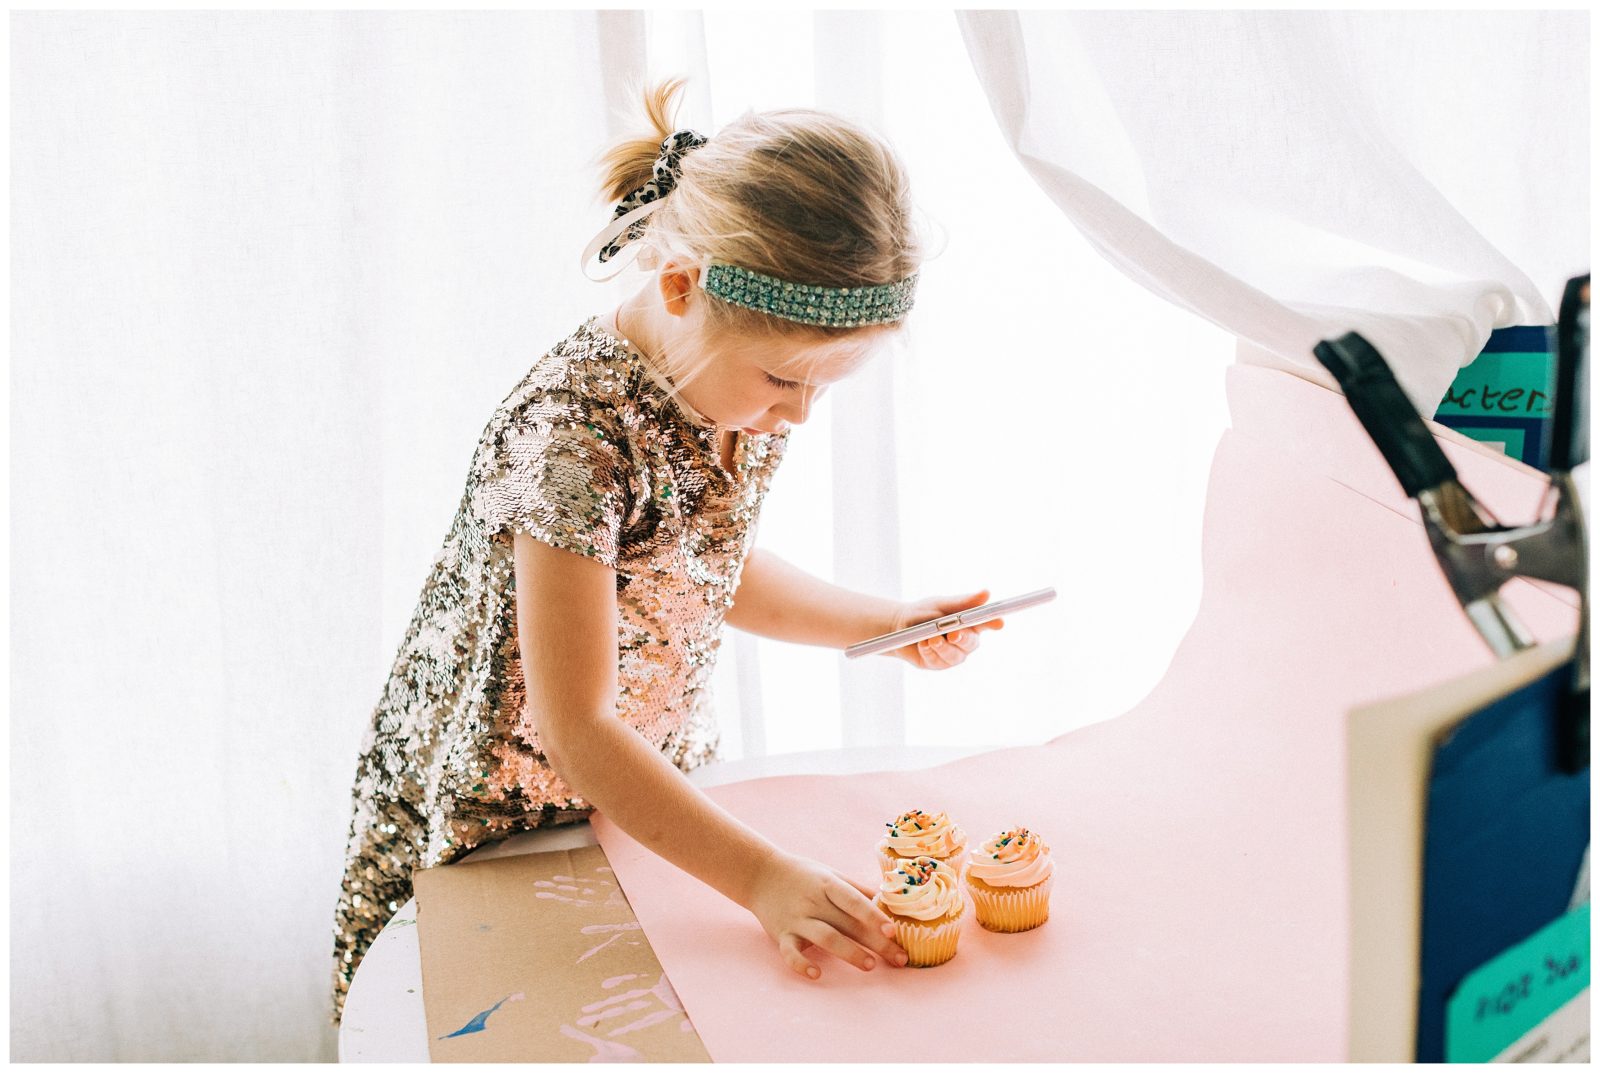
While we were shooting we experimented with the poster paper and curved it up so the same poster also served as the backdrop.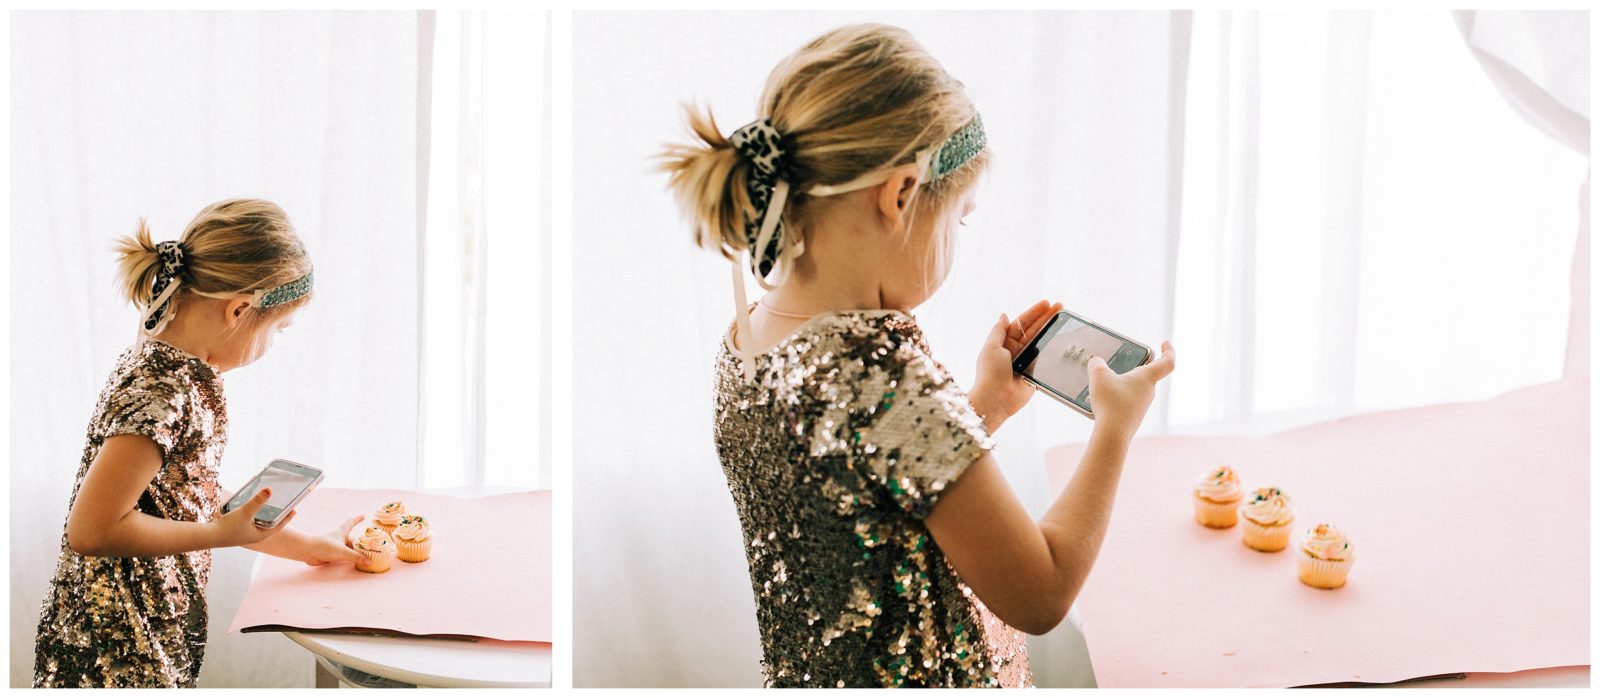
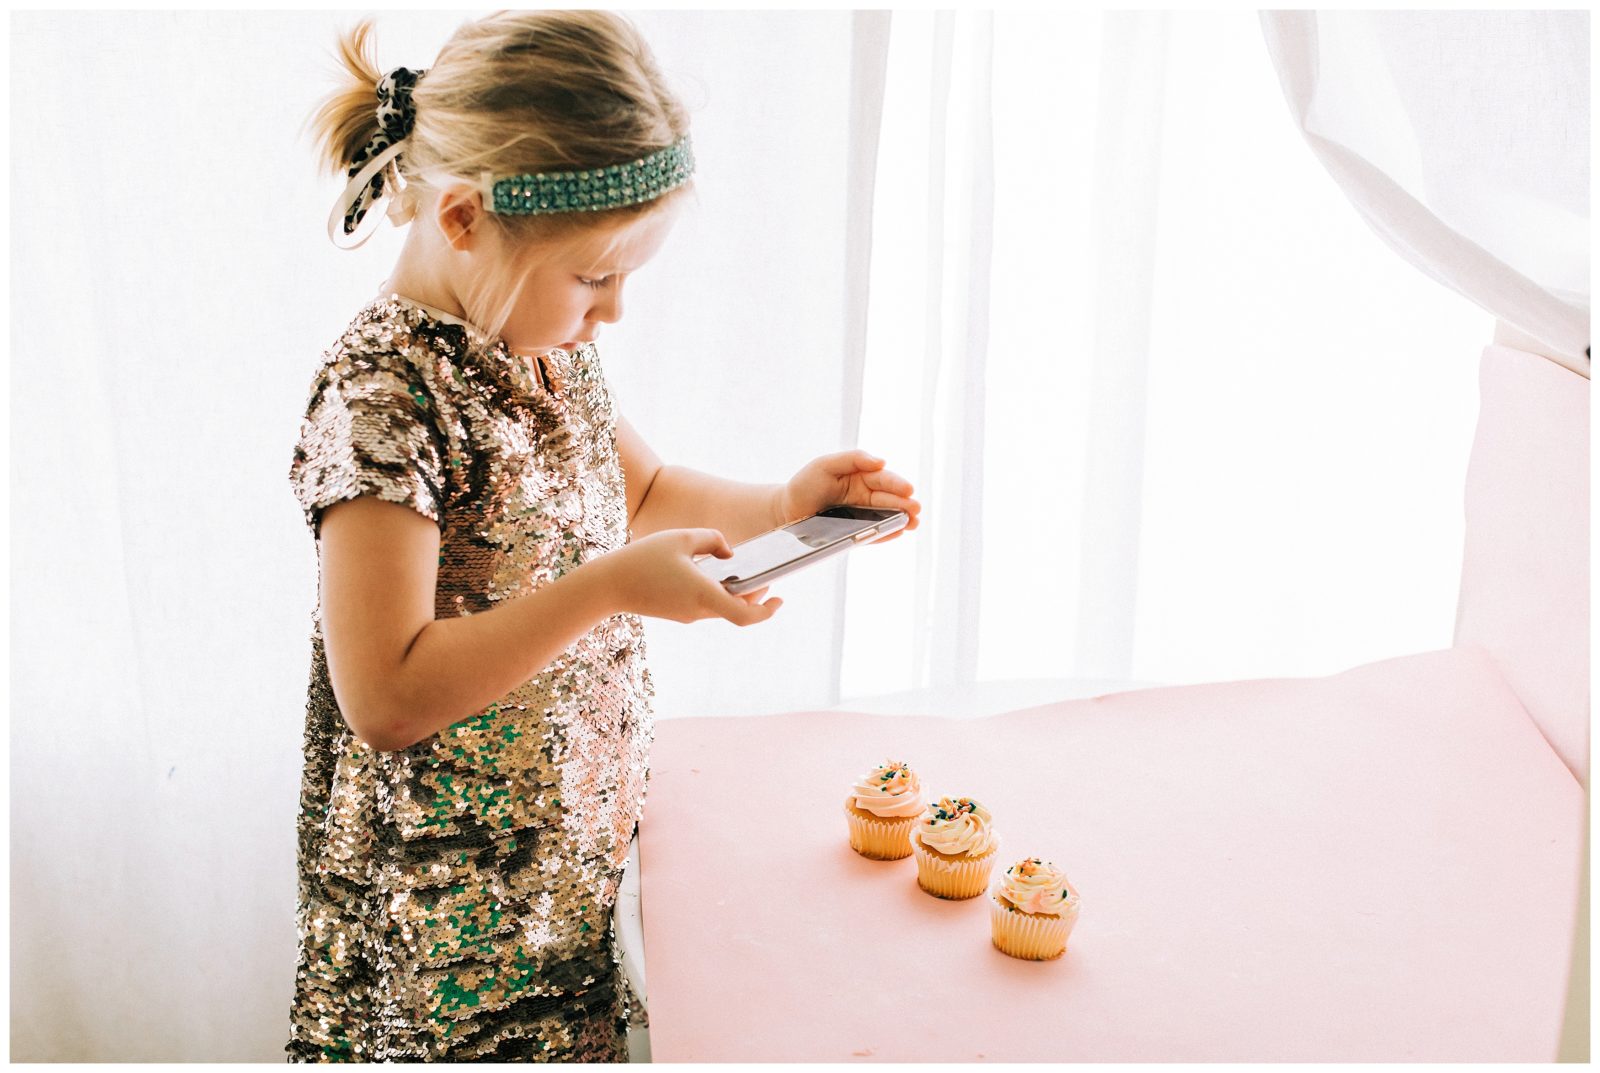
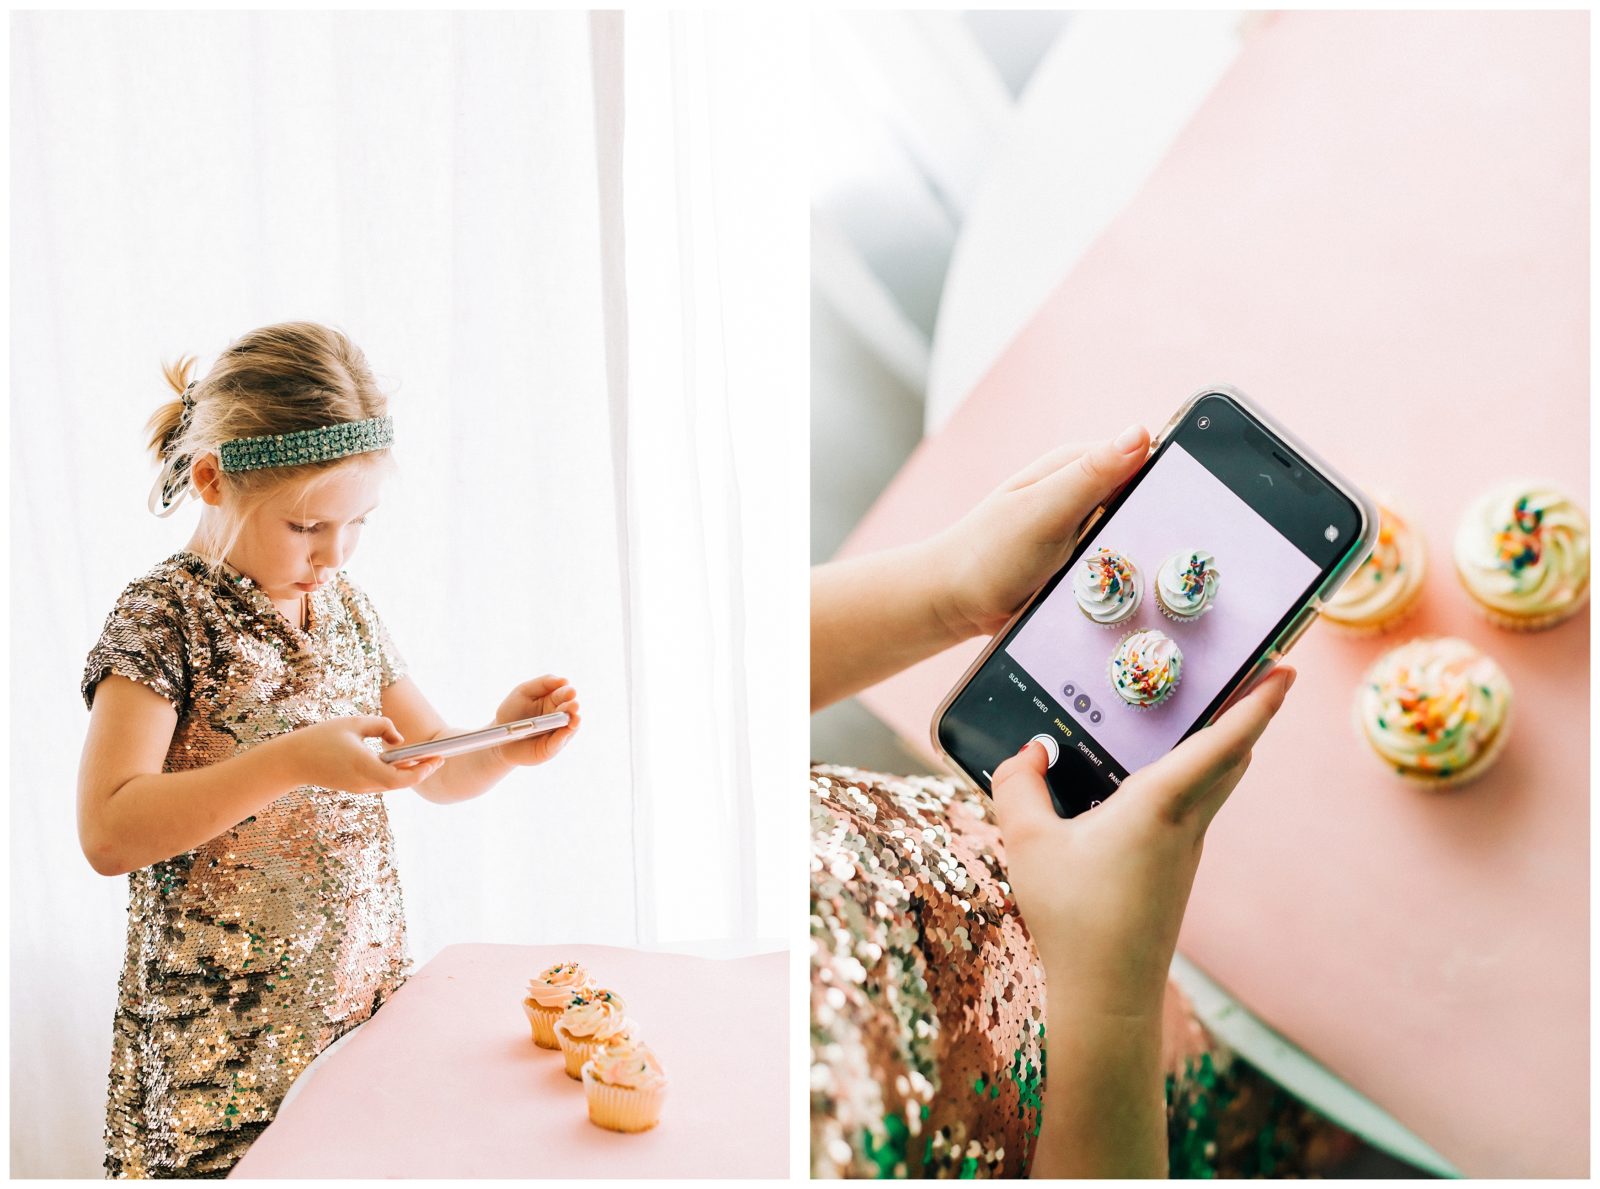
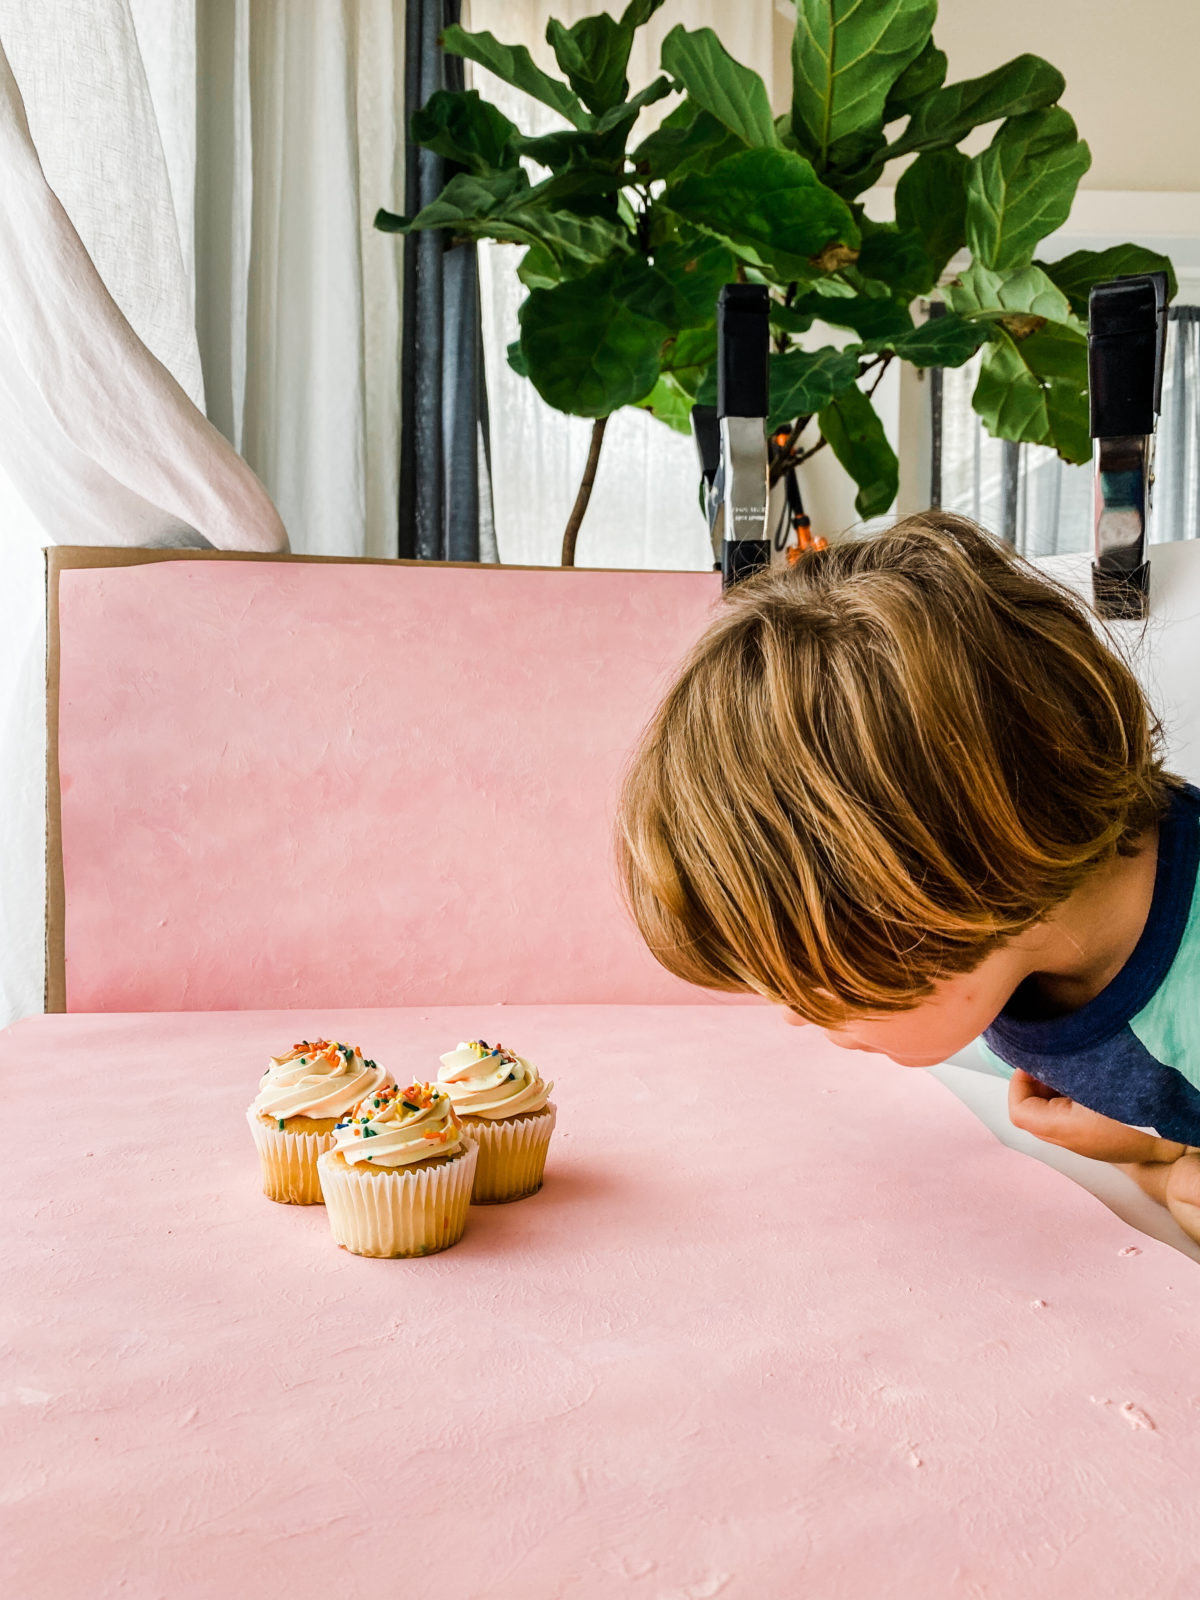
Shea just can’t wait for the shoot to be done so he can get his hands on those cupcakes!
Step 5: Upload the images and choose the favourites
After uploading the images let your child choose their favourite shots. Discuss why they liked certain ones better. Was it composition? Placement of items? The angle?
You can even show them basic editing techniques on the phone to brighten photos up, or add more contrast. That’s a whole other blog post so for now just enjoy your child’s creations!
Below are the final favourite shots captured by my daughter on our Iphone. Mama might have helped in the editing department here 🙂
Also how gorgeous did the paint texture photograph! Well worth the sponge fun 🙂
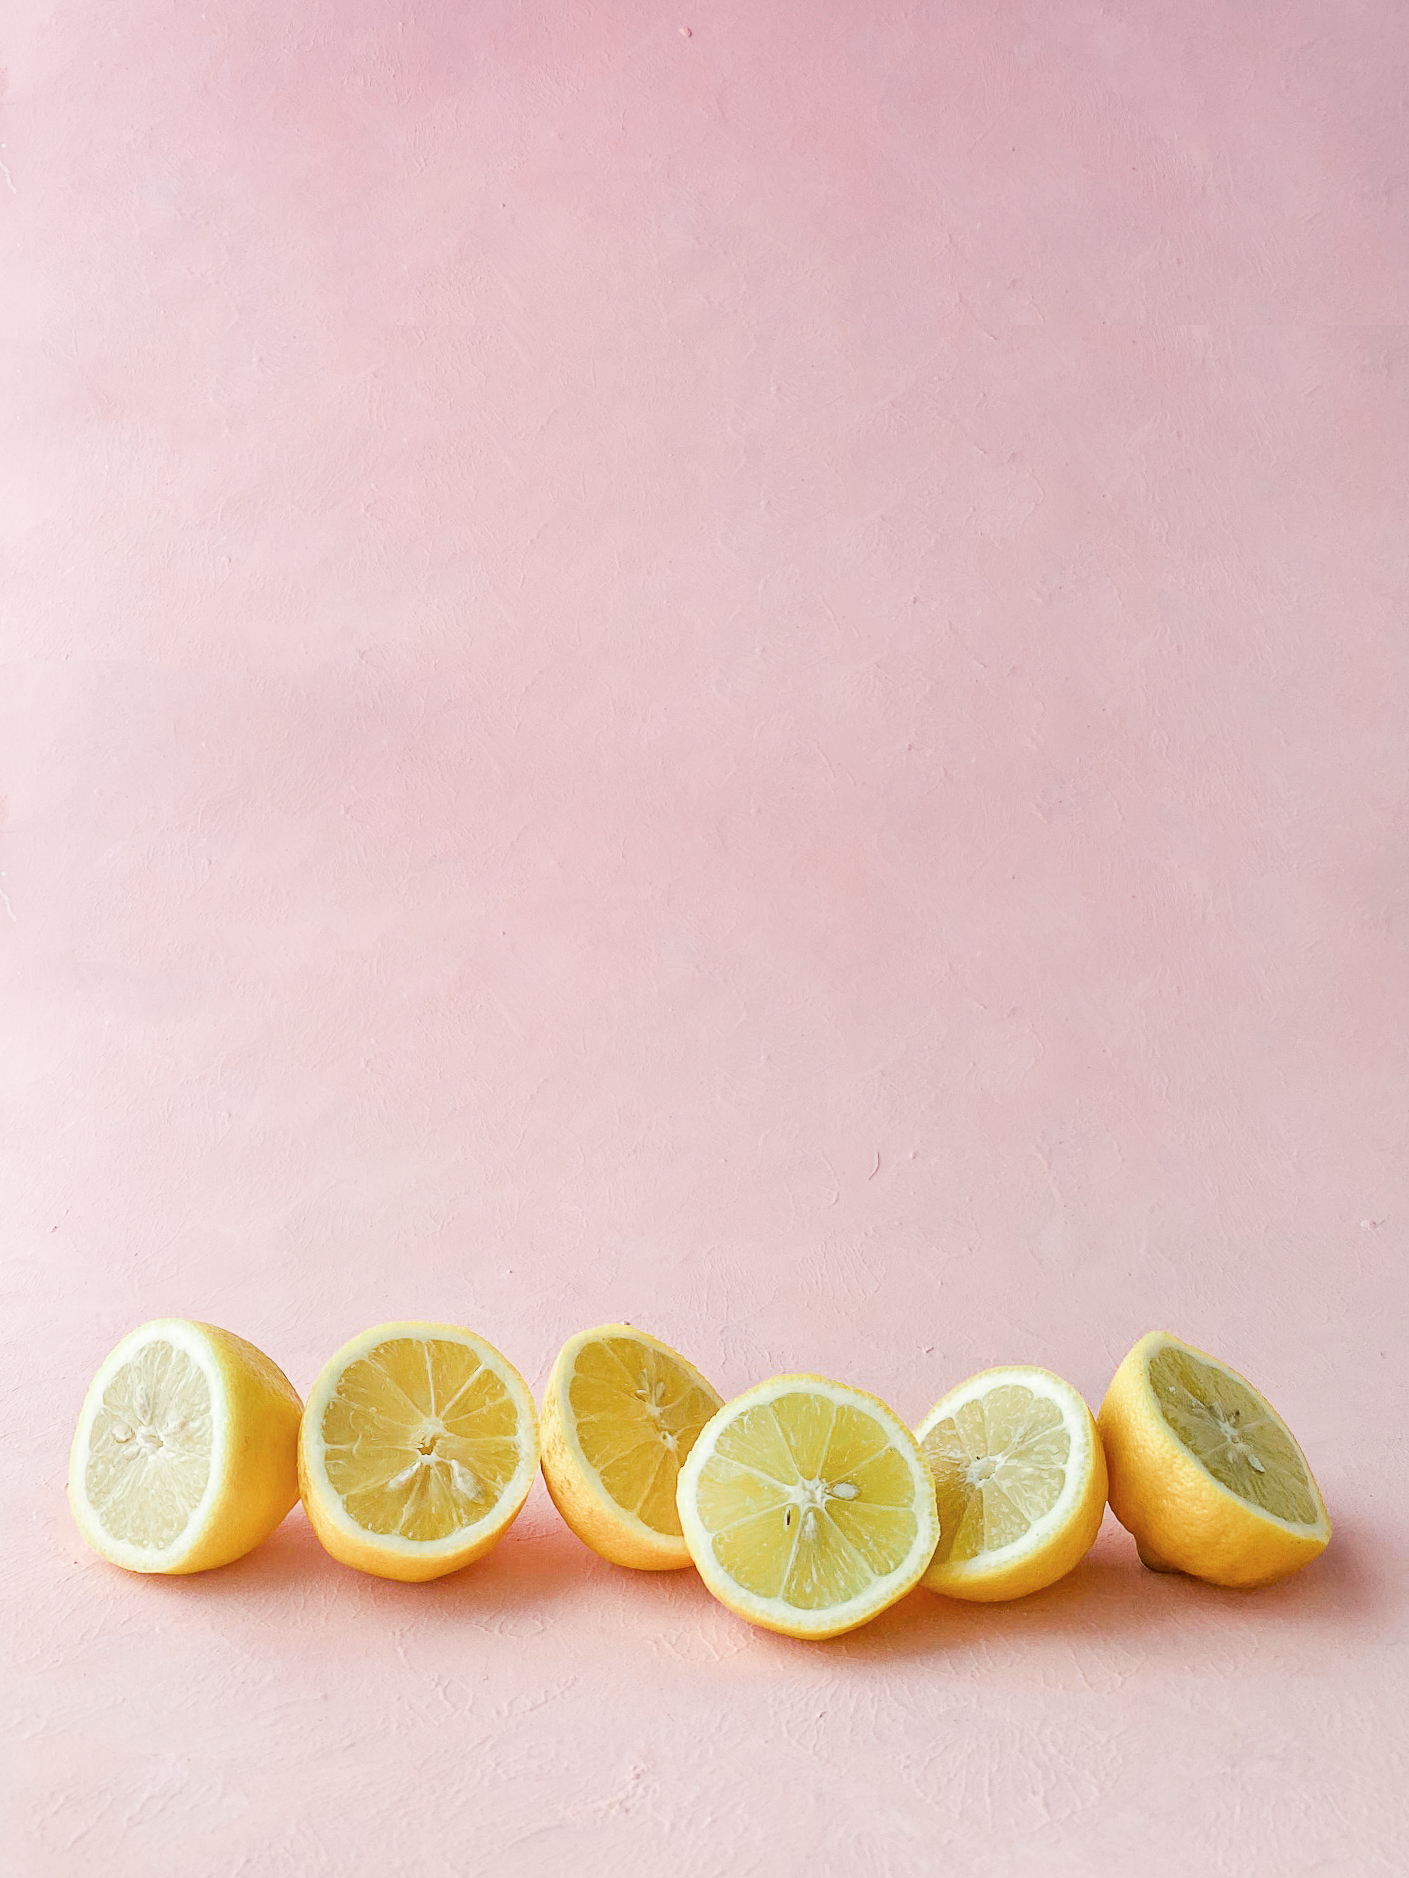
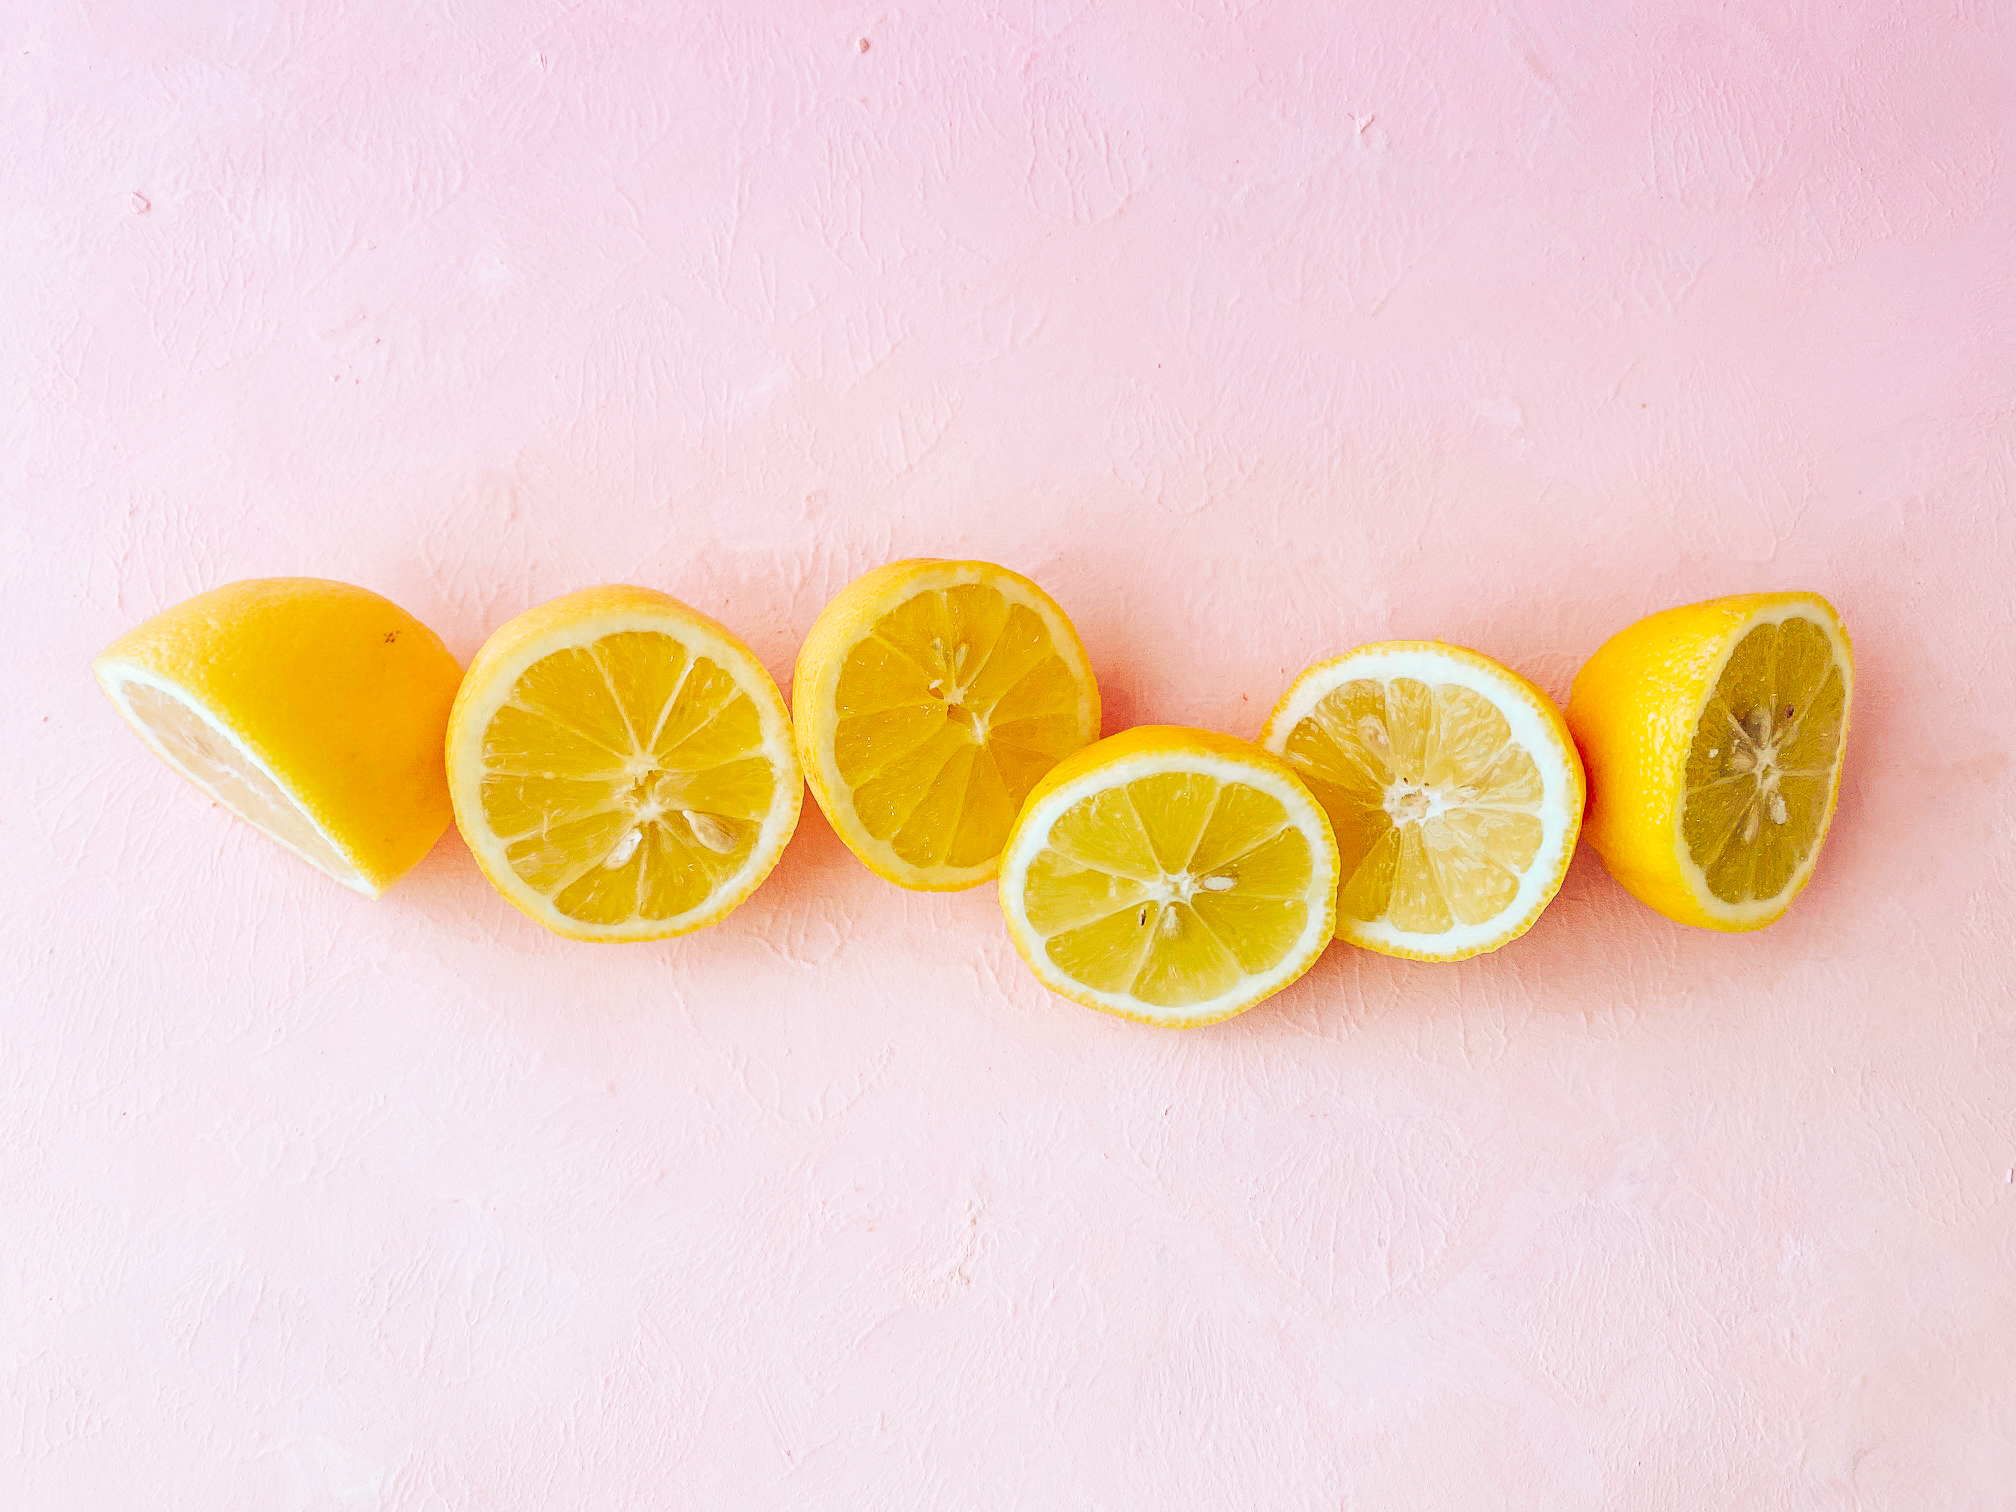
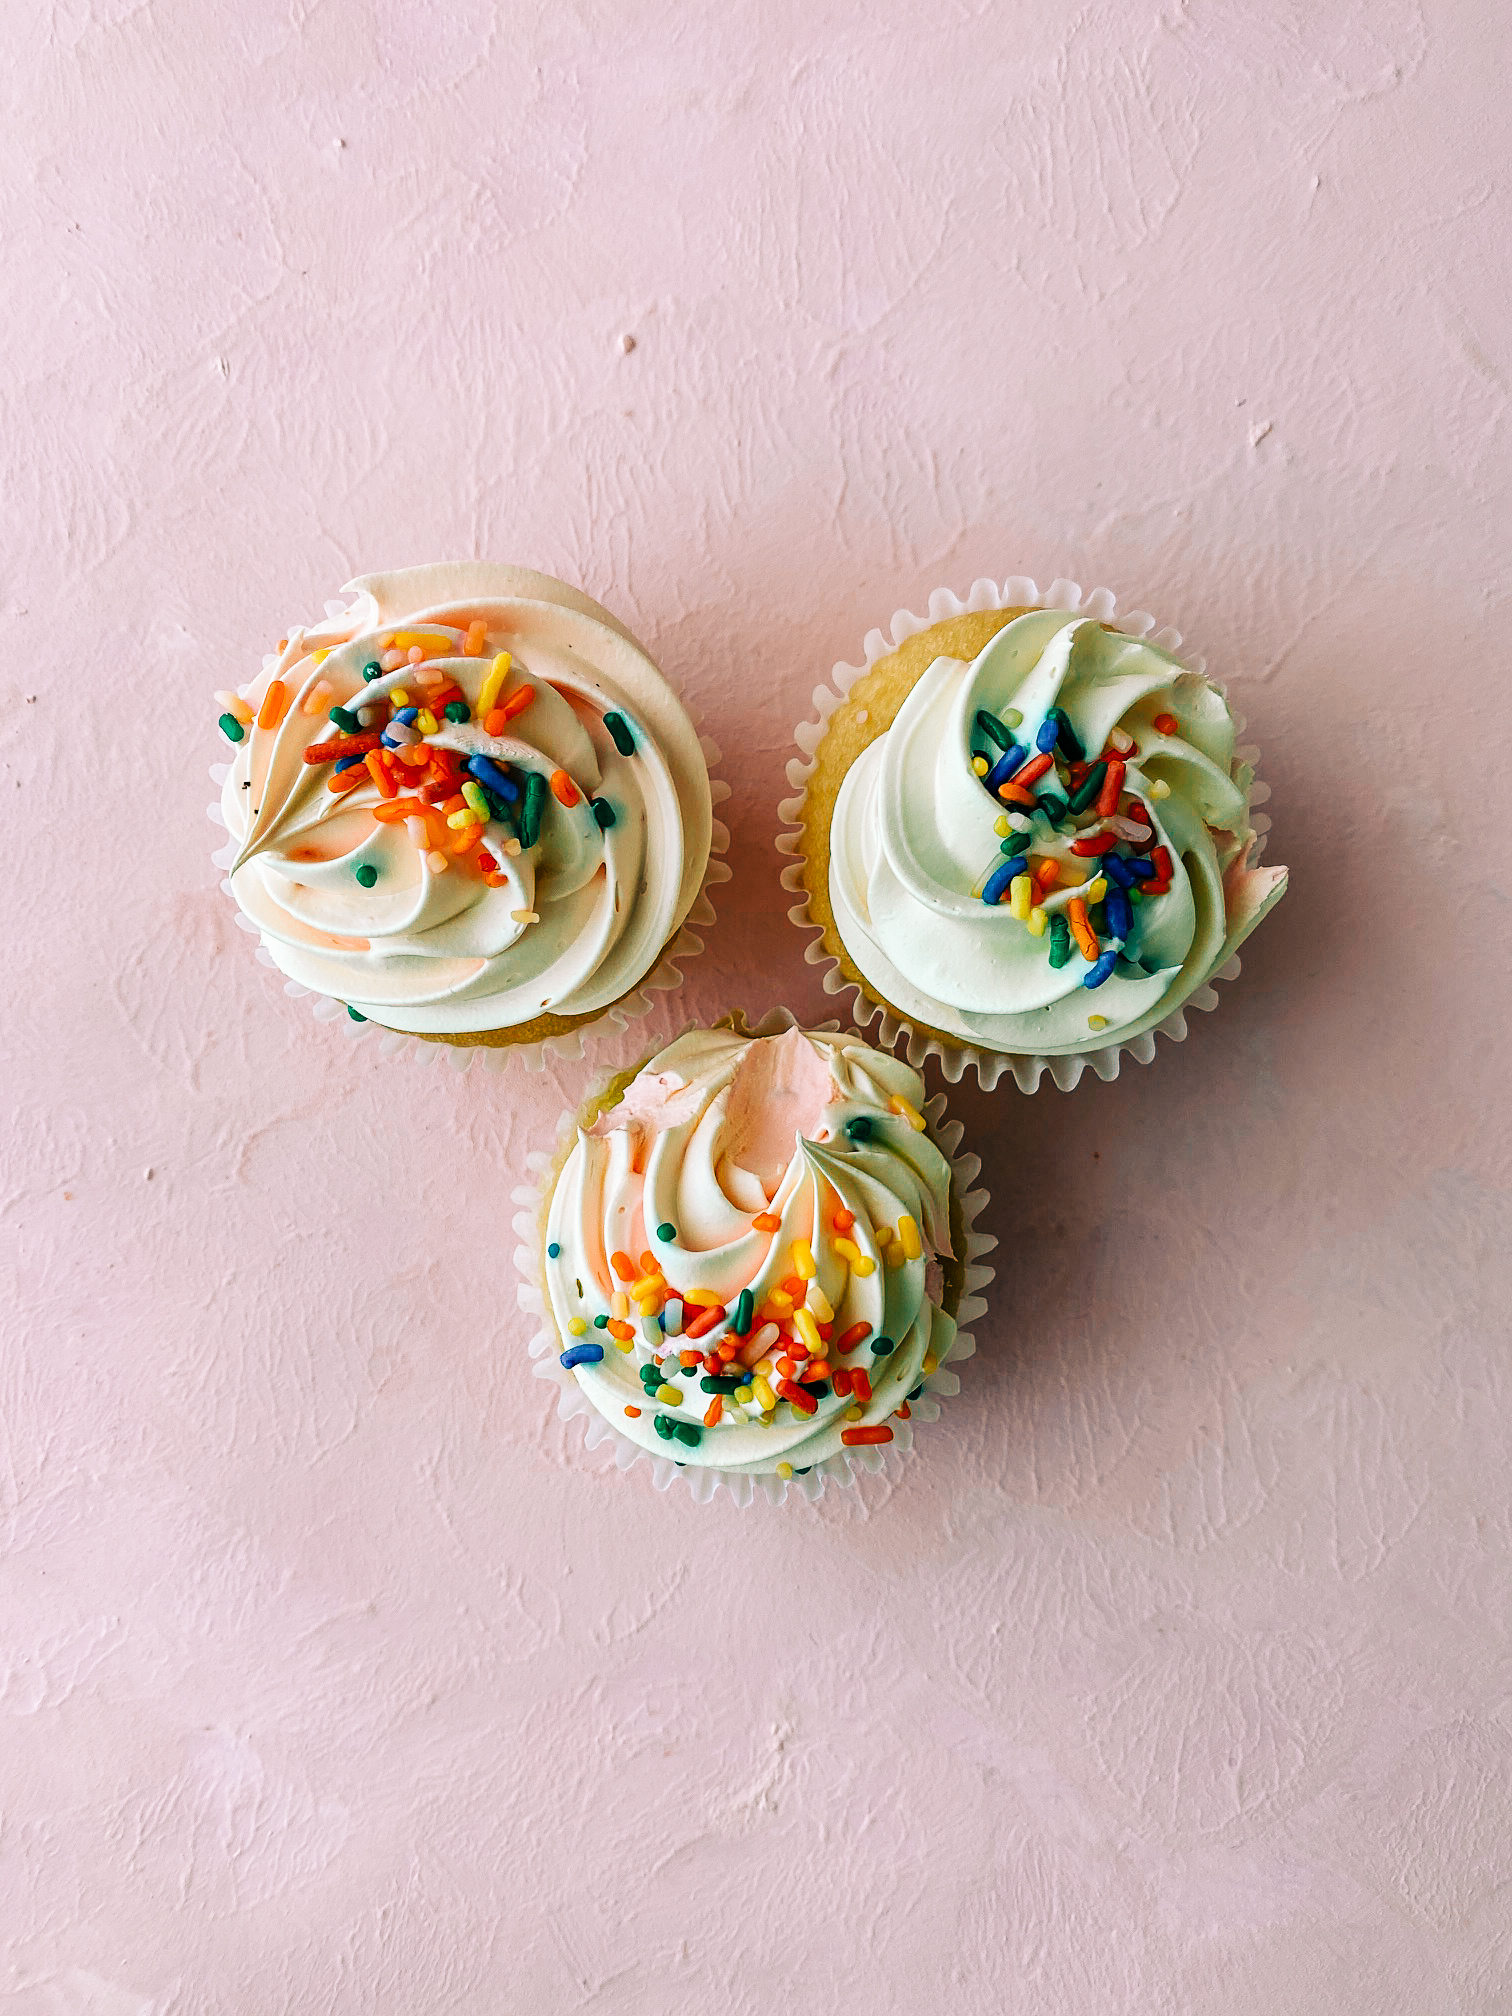
Ellie’s little brother might have stuck his little finger in one of those cupcakes…can you find the evidence? 🙂
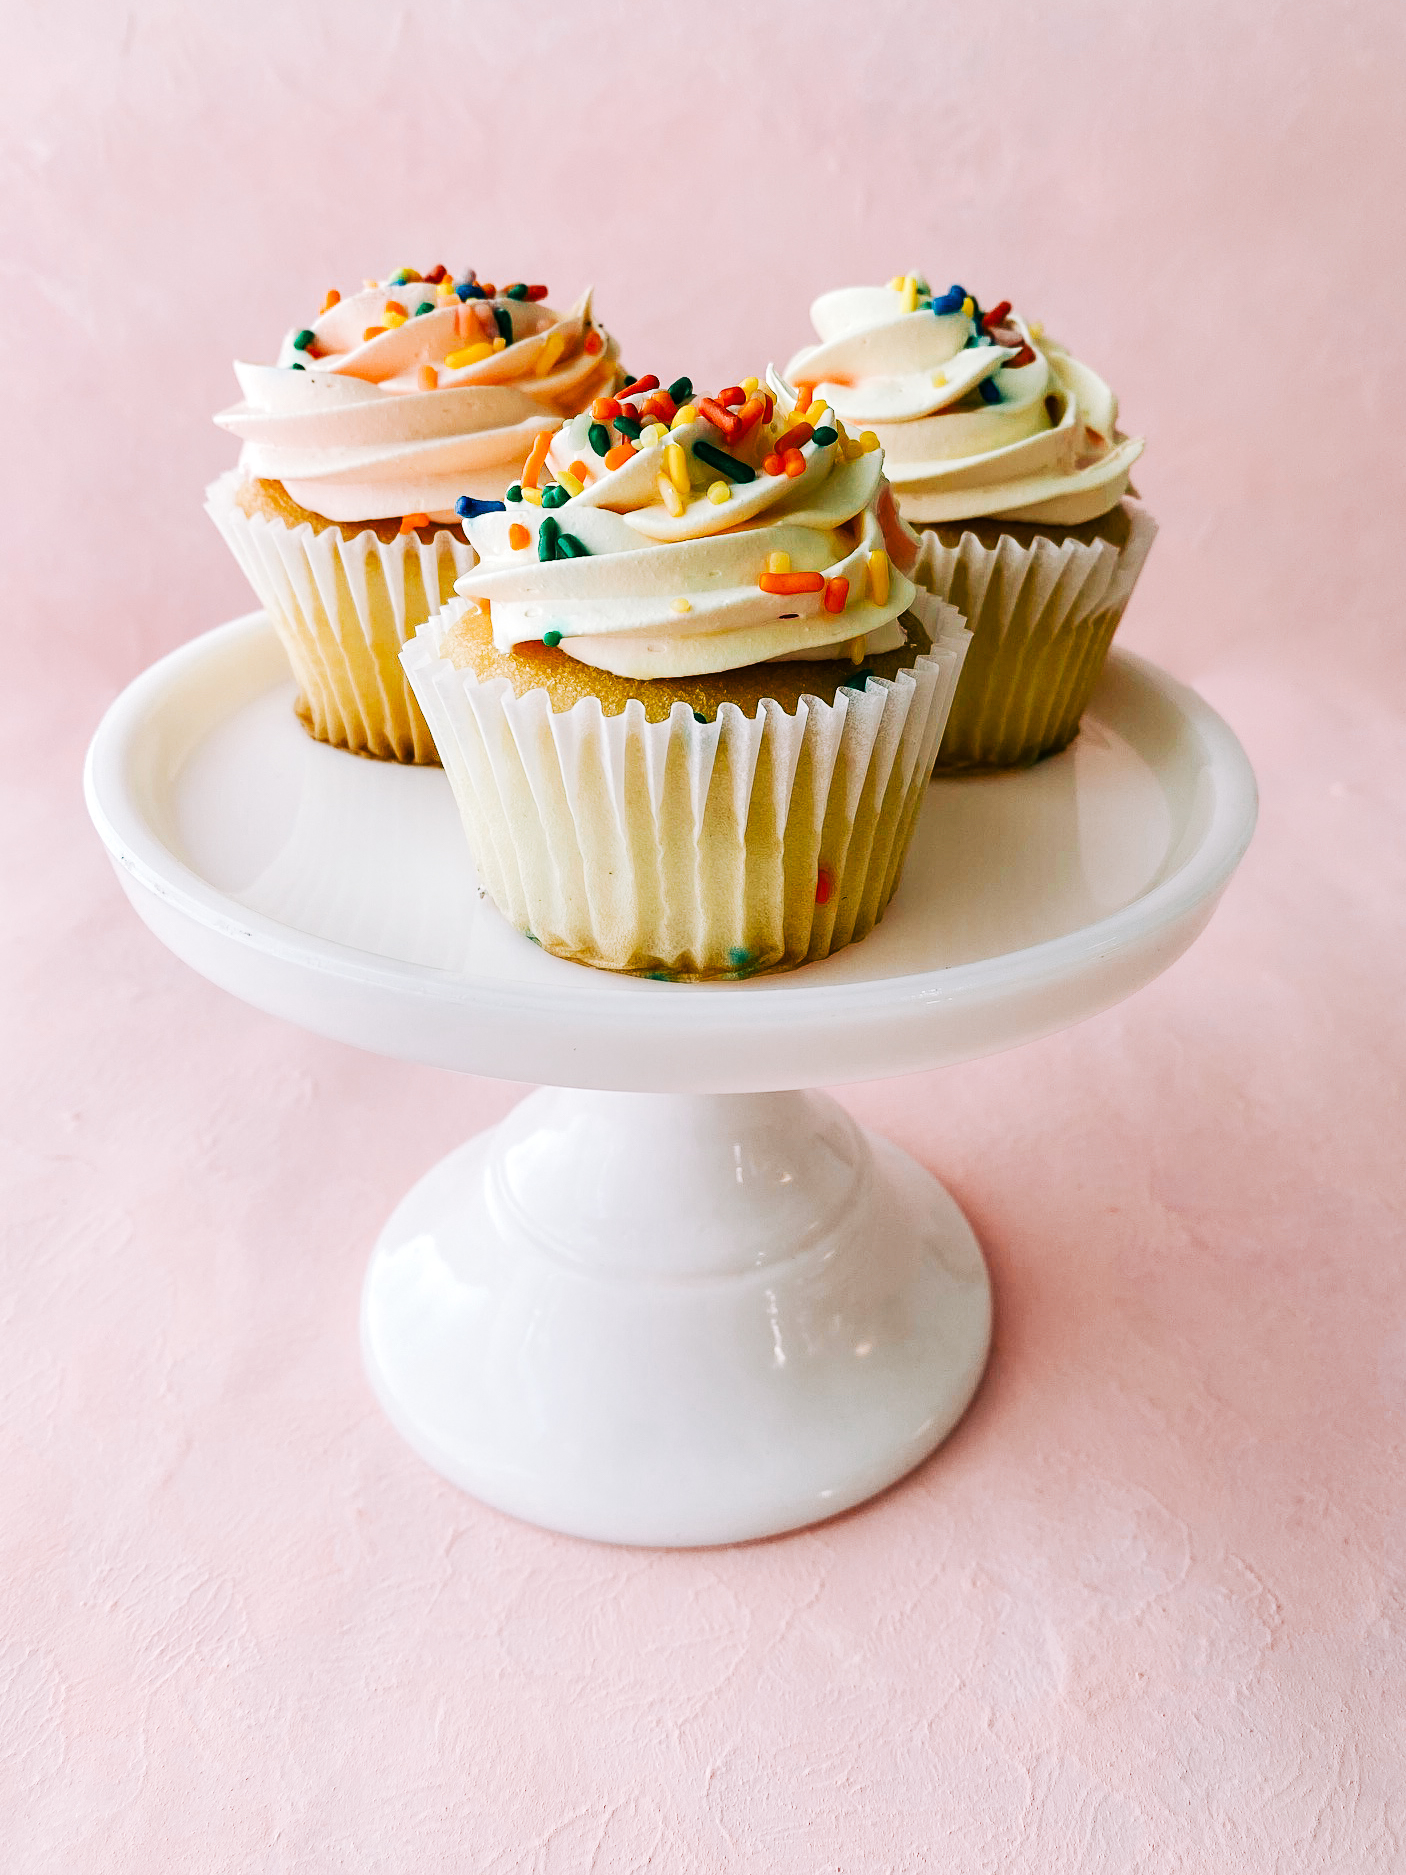
That’s it! Enjoy this fun little project with your aspiring photographer.
While you’re here check out my most recent motherhood sessions HERE.